 Call Us:
  Mail Us:


Step-by-Step Thread Repair Using Helicoil Inserts on Industrial Engine Blocks
 By Admin |
  July 29th, 2026
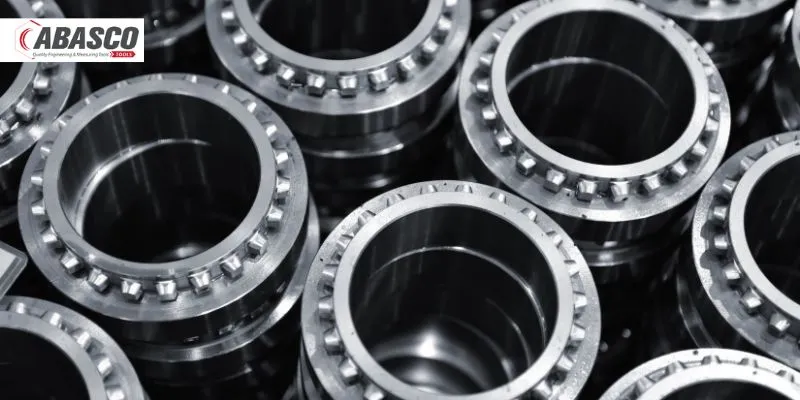
Industrial engine blocks are designed to withstand enormous pressure, heat, and continuous operation. However, even the toughest engine blocks can develop damaged or stripped threads over time due to repeated assembly, excessive torque, corrosion, or accidental cross-threading. Many of us assume that damaged threads automatically mean replacing expensive components. The good news? That is far from the truth.
For long-lasting repairs, it is equally important to source premium-quality repair solutions and equipment from a trusted hand tools supplier in the UAE to ensure reliability, precision, and consistent performance in demanding industrial applications. One of the most reliable and cost-effective solutions is repairing the damaged threads with Helicoil inserts. Widely used across automotive, heavy machinery, marine, aerospace, and manufacturing industries, Helicoil inserts restore the original thread strength while extending the life of critical engine components.
Why Use Helicoil Inserts?
A Helicoil insert is a precision-engineered stainless steel wire coil that creates new, durable internal threads inside a damaged hole. Once installed correctly, it often produces threads that are even stronger and more wear-resistant than the original material. Some key benefits of using helicoil inserts include:
- Restores stripped or damaged threads quickly
- Reduces downtime and repair costs
- Improves load distribution
- Offers excellent resistance to vibration and corrosion
- Eliminates the need for costly engine block replacement
For industrial engine maintenance, this repair method has become a trusted industry standard.
Step 1: Inspect the Damaged Thread
The first step in using a helicoil insert is to carefully assess the damaged hole. Check whether the threads are stripped, worn, or cross-threaded. Also, inspect the surrounding material for cracks or severe structural damage, as Helicoil inserts are intended for thread repair rather than fixing damaged castings. Remember, selecting the correct insert size is equally important. The insert should match the original bolt or fastener specifications.
Step 2: Drill Out the Damaged Threads
After identifying the correct insert size, drill the damaged hole using the recommended drill bit. This removes the old threads and prepares the hole for tapping. Accuracy also matters here. Drilling should remain perfectly aligned with the original thread axis to ensure proper bolt seating later.
Step 3: Tap the New Threads
Once drilling is complete, use the dedicated Helicoil tap to cut new threads into the enlarged hole. Unlike standard taps, Helicoil taps are specially designed to accommodate the insert dimensions. During tapping, use a suitable cutting fluid to reduce friction and achieve cleaner thread formation. Never forget to remove chips regularly to prevent contamination inside the engine block.
Step 4: Install the Helicoil Insert
Now comes the most satisfying part of the repair. Place the Helicoil insert onto the installation tool and carefully screw it into the freshly tapped hole. The insert should sit slightly below the surface without protruding. Proper positioning ensures secure fastening and prevents interference with engine components.
Step 5: Remove the Installation Tang
Most Helicoil inserts include a small driving tang used during installation. Once the insert is fully seated, remove the tang using a tang break-off tool or punch. This finalizes the thread repair and prepares the hole for normal bolt installation.
Step 6: Test the Repair
Before returning the engine to service, install the original bolt and tighten it to the manufacturer’s specified torque. A properly installed Helicoil insert can often provide greater thread durability than the original aluminum or cast iron material, making it an excellent long-term repair solution for demanding industrial environments.
Best Practices for Reliable Repairs
For consistently successful repairs, always use high-quality installation tools, maintain proper drilling alignment, keep the work area clean, and never reuse damaged inserts. Following the recommended installation procedure can ensure maximum strength and long-lasting performance.
The Closing Thoughts: Restore Strength with Confidence
Thread damage doesn’t have to bring your industrial operations to a halt. With the right Helicoil inserts and professional installation tools, engine blocks can be restored quickly, safely, and economically while maintaining their original performance.
When precision, durability, and reliability matter, trust Abasco Tools for premium-quality thread repair solutions designed for demanding industrial applications. Explore the complete range of Helicoil repair kits and professional tooling from Abasco Tools today and give every repair the strength to last.
Related Posts






Recent Posts
Popular Posts

Categories
Tags
Join the League of Craftsmen
Contact UsGet In Touch
Find us on Facebook
