Contact Us

    Let’s Talk

    Home / Product / / V-1 Calibration Block

    Categories:

    V-1 Calibration Block

    Description

    The V-1 Calibration Block is used for calibrating ultrasonic flaw detection equipment in both laboratory and on-site conditions.
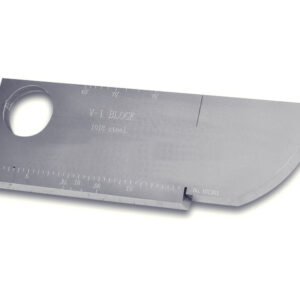
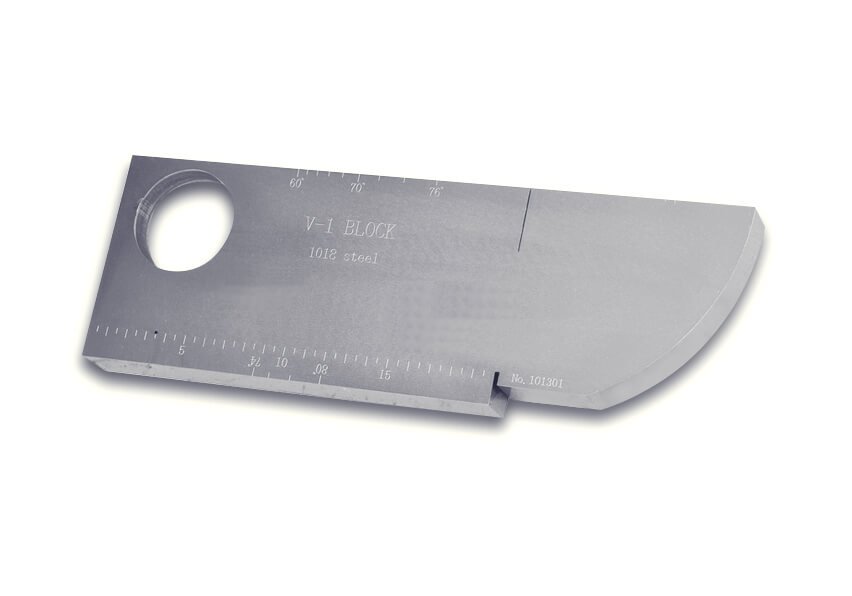
    The V-1 Calibration Block is used for calibrating ultrasonic flaw detection equipment in both laboratory and on-site conditions. it includes a 100mm radius, 1.5mm and 50.0mm holes, engraved reference mark scales, and slots at the zero point which provide calibrating signals at intervals of 100mm range. In accordance with British standard BS 2704 Block A2 Mod. 1, DIN 54-120, and ISO 2400.
    Dimensions: 300mm*100mm*25mm

    Description

    The V-1 Calibration Block is used for calibrating ultrasonic flaw detection equipment in both laboratory and on-site conditions.

    The V-1 Calibration Block is used for calibrating ultrasonic flaw detection equipment in both laboratory and on-site conditions. it includes a 100mm radius, 1.5mm and 50.0mm holes, engraved reference mark scales, and slots at the zero point which provide calibrating signals at intervals of 100mm range. In accordance with British standard BS 2704 Block A2 Mod. 1, DIN 54-120, and ISO 2400.

    Dimensions: 300mm*100mm*25mm
    Reviews

    There are no reviews yet.

    Be the first to review “V-1 Calibration Block”

    Your email address will not be published. Required fields are marked *

    Have an Enquiry?

    Please Enter your Email address and we will get in touch with you shortly!